Add a DNS name authorized to connect to the Web interfaces
Access to web interfaces is restricted by cyberelements Cleanroom to previously declared IP addresses or DNS names only.
If you want to use new DNS names, you must either:
- declare them from the system console
- declare them in the
/etc/ipdiva/care/djangosettings.inifile on the Mediation Controller server.
Access the Mediation Controller server's web interface with the URI /system.
Examples
If access to the Mediation Controller on its web IP address is 10.0.10.10, then access to the system interface will use the URL: https://10.0.10.10/system.
If access to the Mediation Controller is possible with a DNS name, for example cyberelements-cleanroom.domain.local, then access to the system interface will use the URL: https://cyberelements-cleanroom.domain.local/system.
Important !
For any changes to the password, license, or certificates (SSL Router, Watchdog, and cyberelements Cleanroom client), connect to the actual IP address for clusters (RIP_MED_WEB_MASTER or RIP_MED_WEB_SLAVE).
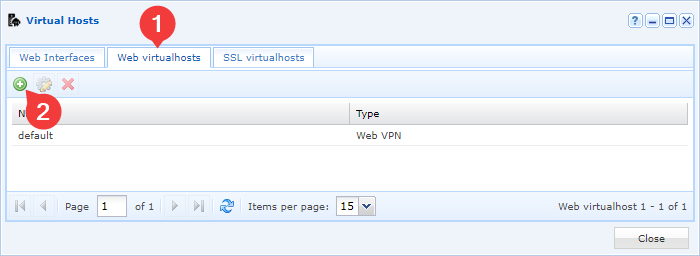
- Click on the tile
Virtual Hosts:
- Create a new virtual host:
- Set the type of the new virtual host
Web VPN: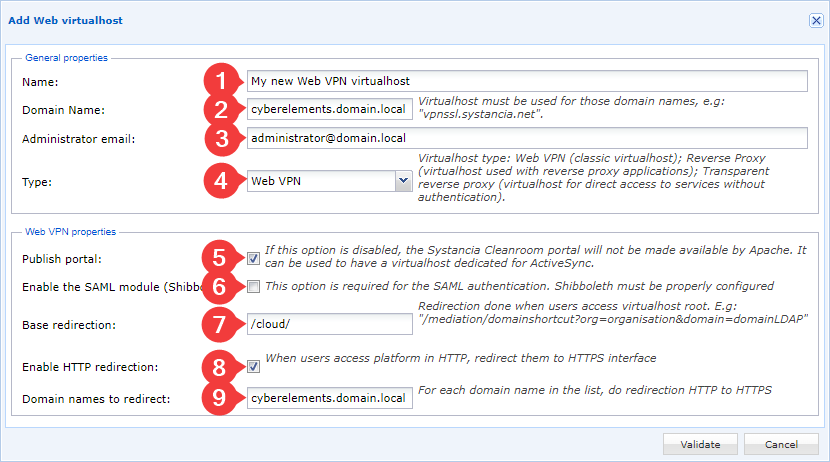
- Name the new virtual host (1).
- Declare the domain name that will be used by this virtual host (2).
- Enter the email address of a solution administrator or a generic address (3).
- Define the type as
Web VPN(4). - Leave the portal publication checked (5); if it is unchecked, the various web consoles will not be accessible.
- Enable the SAML module (6) only if SAML authentication must be possible.
- Define the base redirection (7), i.e., the URI to which the user is redirected when accessing the root
/. For cyberelements Cleanroom, the/cloud/URI allows the user to be redirected to the user portal. - Optionally, enable HTTP redirection to HTTPS (8) and specify the relevant domain name (9), which is usually the same as the one set in step 2.
- Return to the
Web Interfacestab and modify the interface to authorize the new DNS name: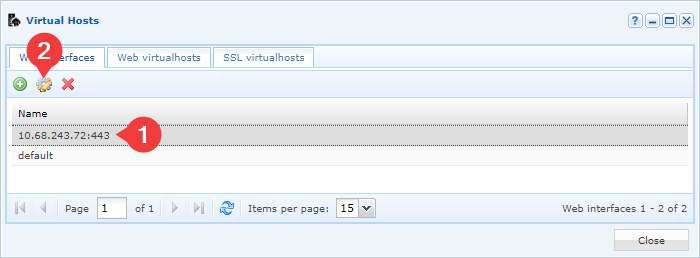
- Add the new virtual host to the web interface and confirm the change:

On the Mediation Controller server, connect via SSH and use the nano command (or vi) to edit the /etc/ipdiva/care/djangosettings.ini file as root:
1 | |
The file must begin with what is shown below. You can specify as many DNS names as necessary, separating them with commas:
1 2 | |
Example
To add the cyberelements.domain.local DNS name to those authorized to connect to the product, you will need to modify the file, which before modification looks like this, for example:
1 2 | |
To add the new DNS name:
1 2 | |
Then reload Apache for the parameter to take effect:
1 | |
The newly added DNS name is now authorized to connect to the web interfaces.