Configure SSO injection on web applications with the Cyberelements SSO Configurator tool
Nowadays, configuring SSO (Single Sign-On) on web applications is faced with an increase in the diversity and complexity of login forms, which means that the configuration must be set up manually when creating the web application in the console.
To overcome this limitation, our team has developed an Cyberelements SSO Configurator extension to easily retrieve the configuration from the login page.
Installing the extension
The Cyberelements SSO Configurator extension is compatible with Chromium-based browsers (Google Chrome, Opera GX, Microsoft Edge, etc.) and Firefox.
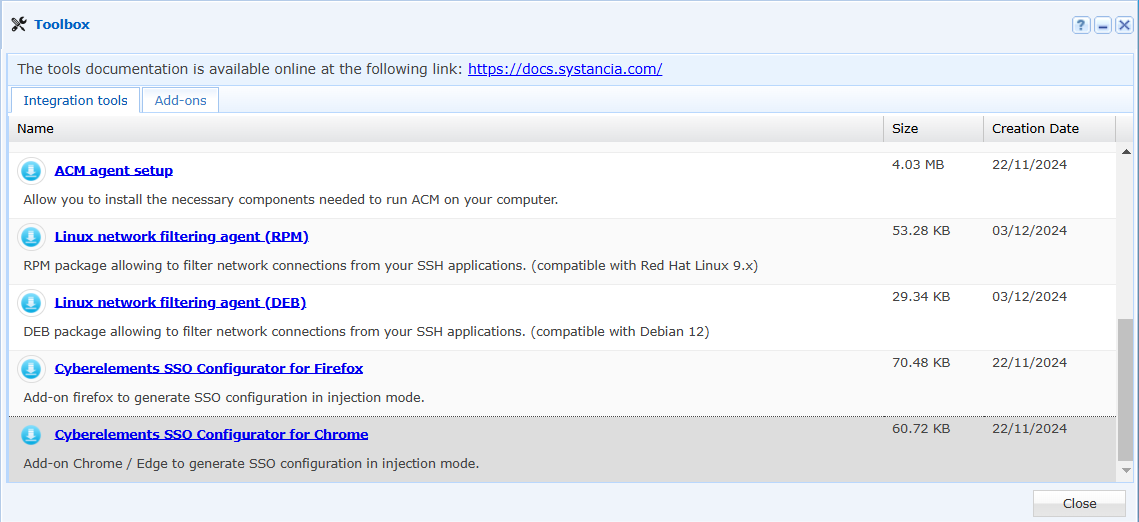
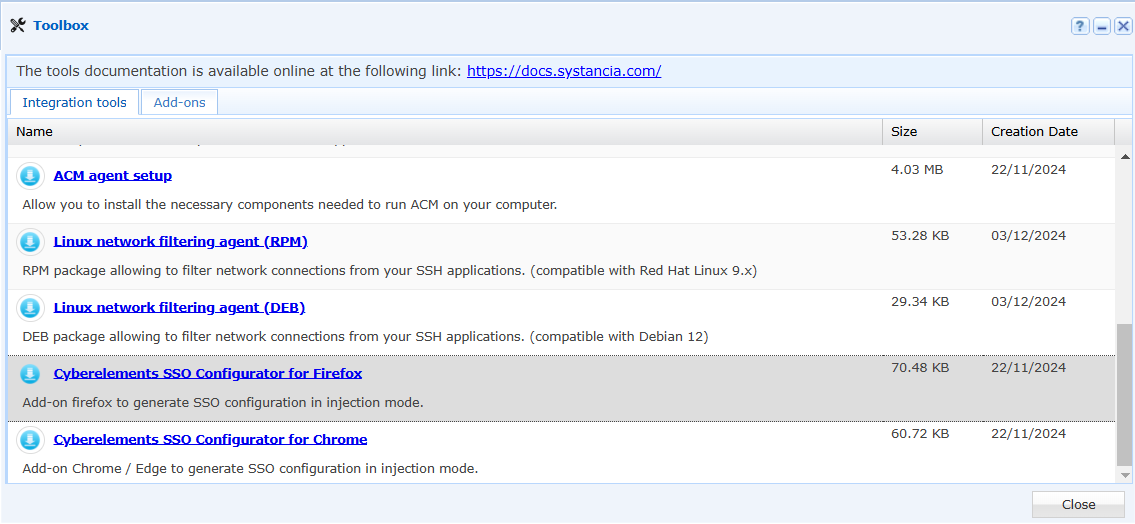
- Download the .zip archive from the Toolbox in the administration console and unzip it.
- Go to the extension management module.
- Click on the “Load unpacked extension” button.
Information
If the “Load unpacked extension” button is not visible, check that developer mode is enabled.
-
Select the unzipped folder.
-
Click the “Add” button in the pop-up that appears in the browser.
-
The extension is added to your browser.
- Download the .xpi file from the Toolbox in the administration console.
- Open this file by double-clicking on the downloaded file.
- A Firefox window will open and a pop-up will appear asking if you want to add the extension. Click on the “Add” button.
- The extension is added to your browser.
Recovering the Web SSO configuration using Cyberelements SSO Configurator
Simple login form
Information
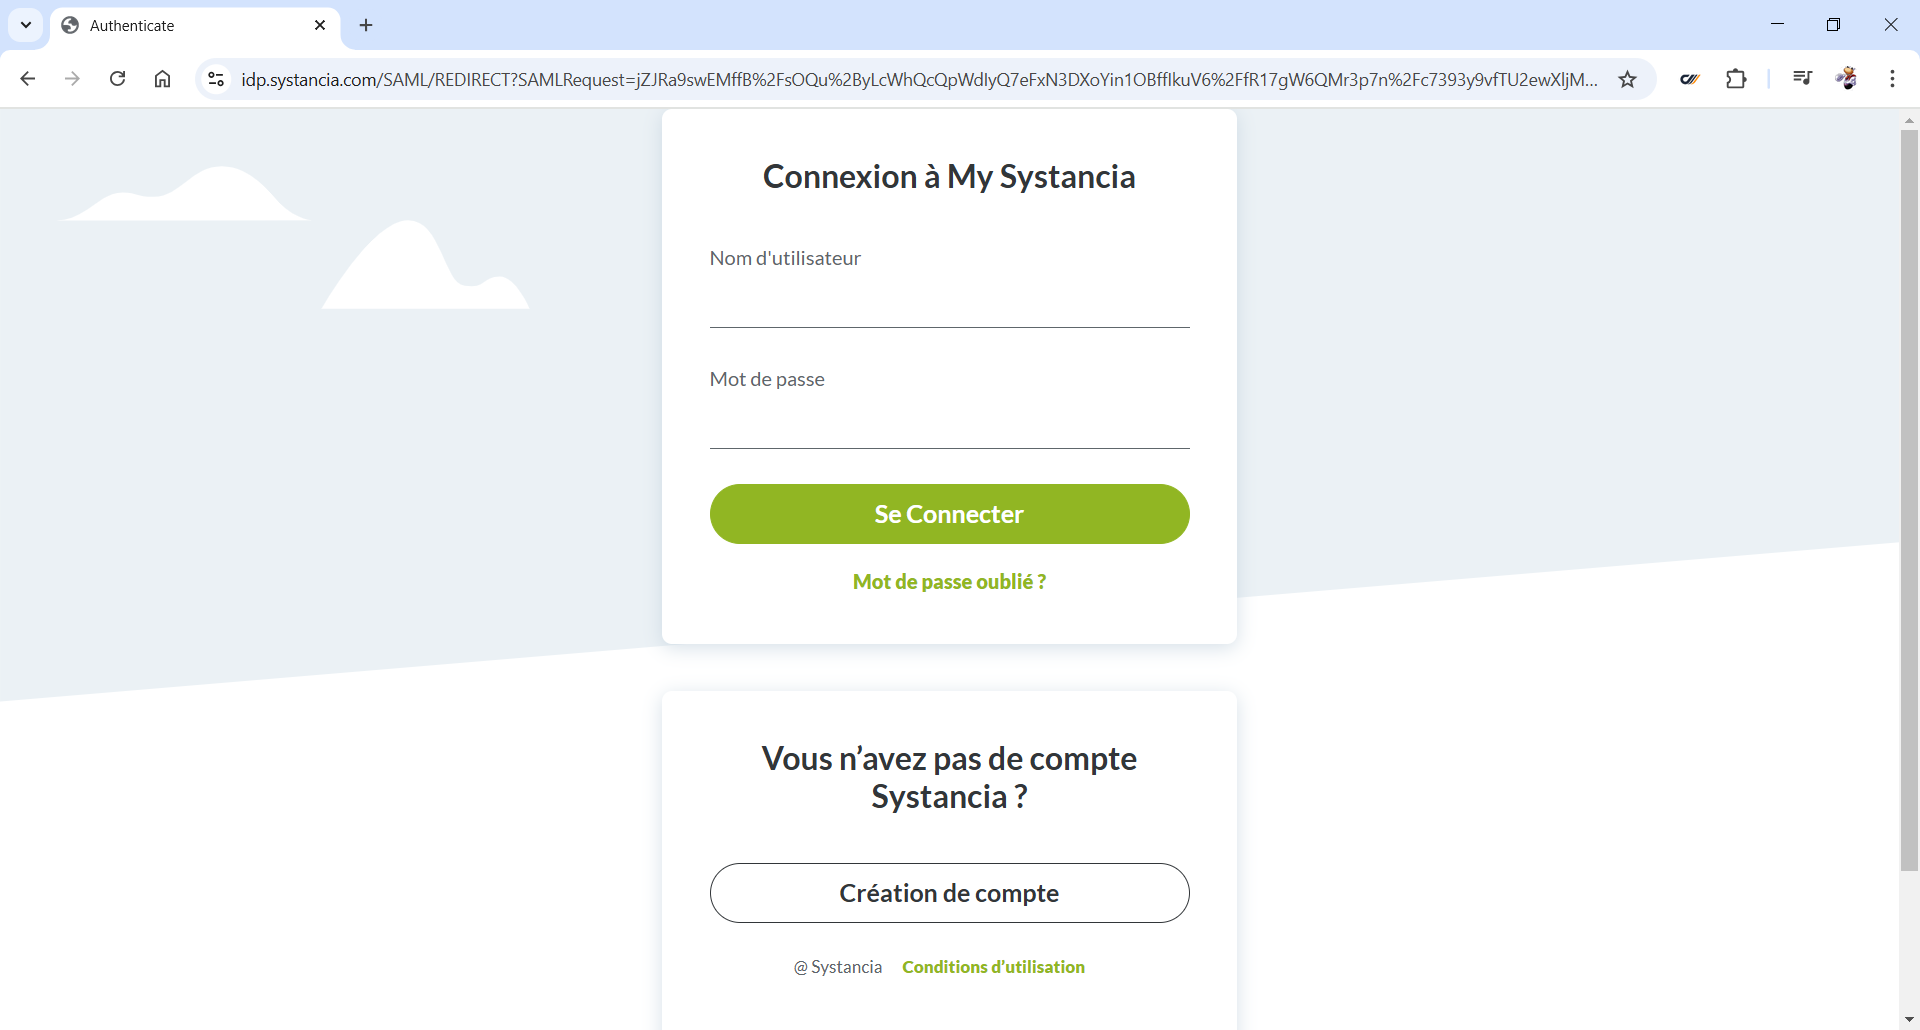
In this section, we will use the example of an SSO configuration for the MySystancia site.
Start by going to the login form for your web application.
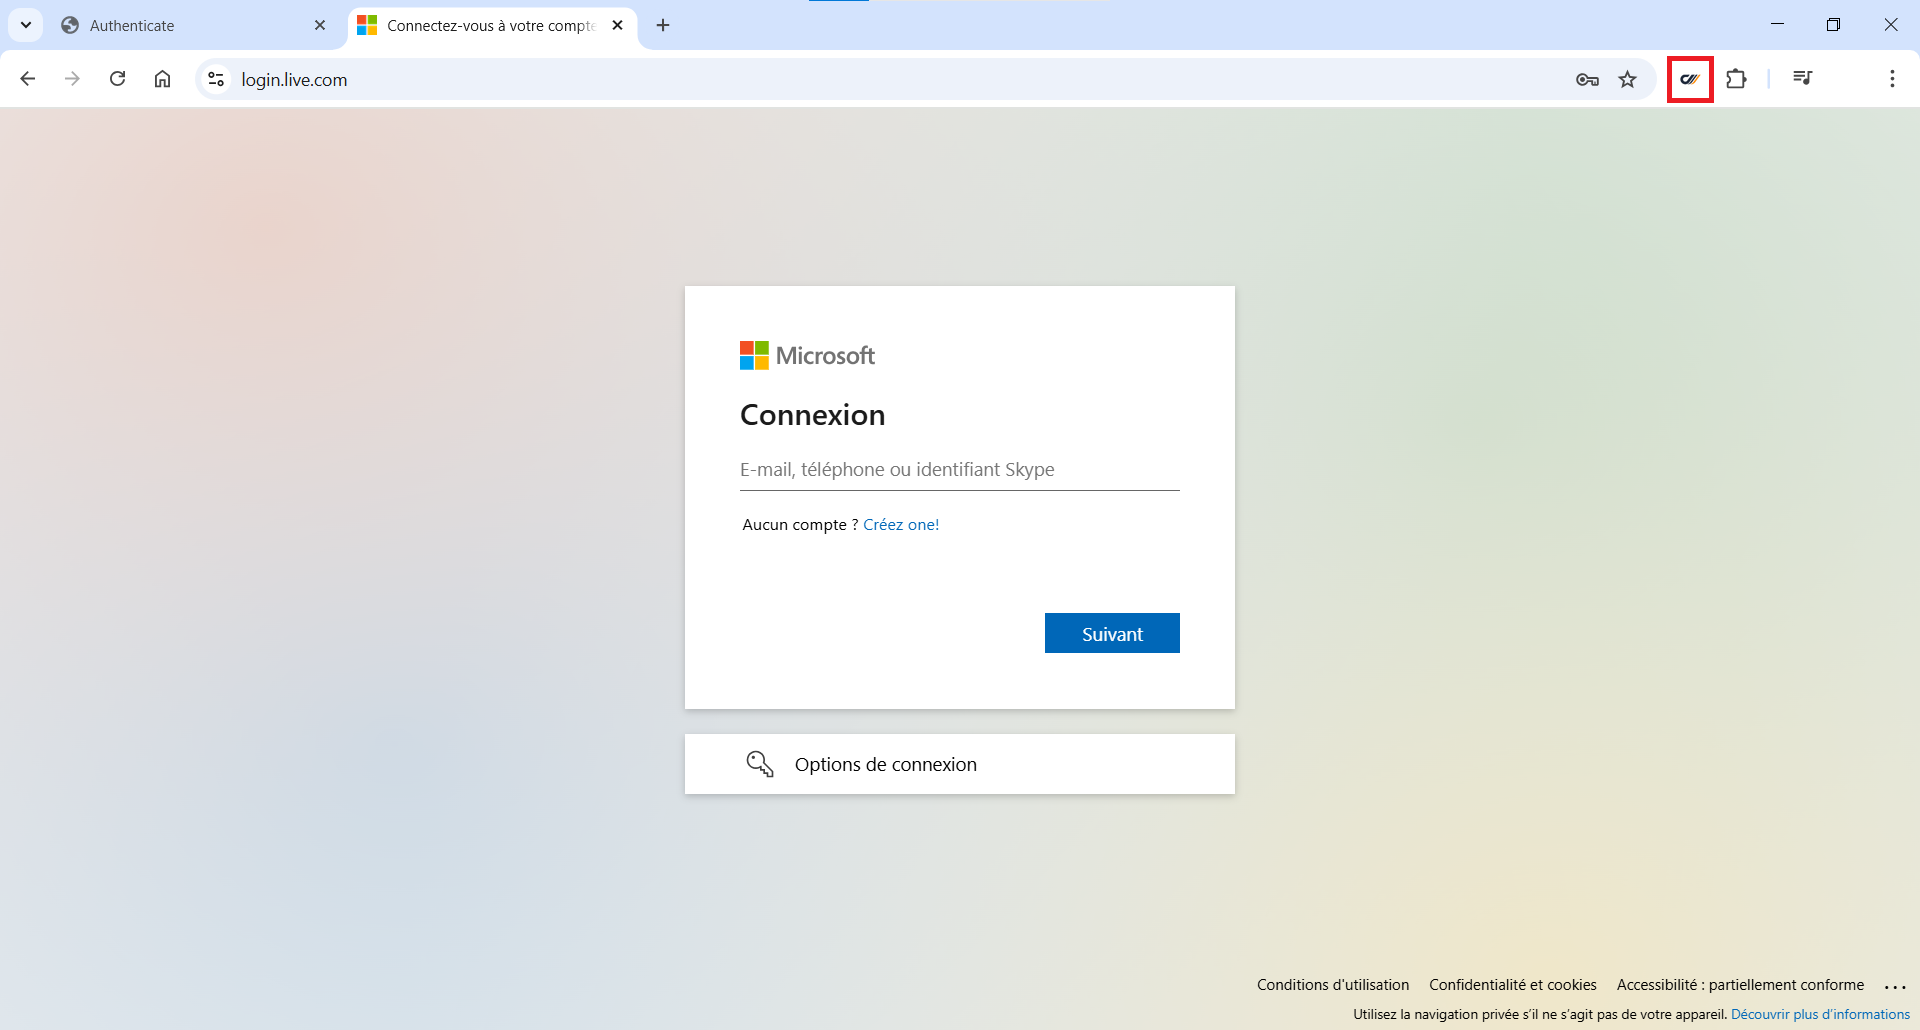
Then launch the extension by clicking on the  button.
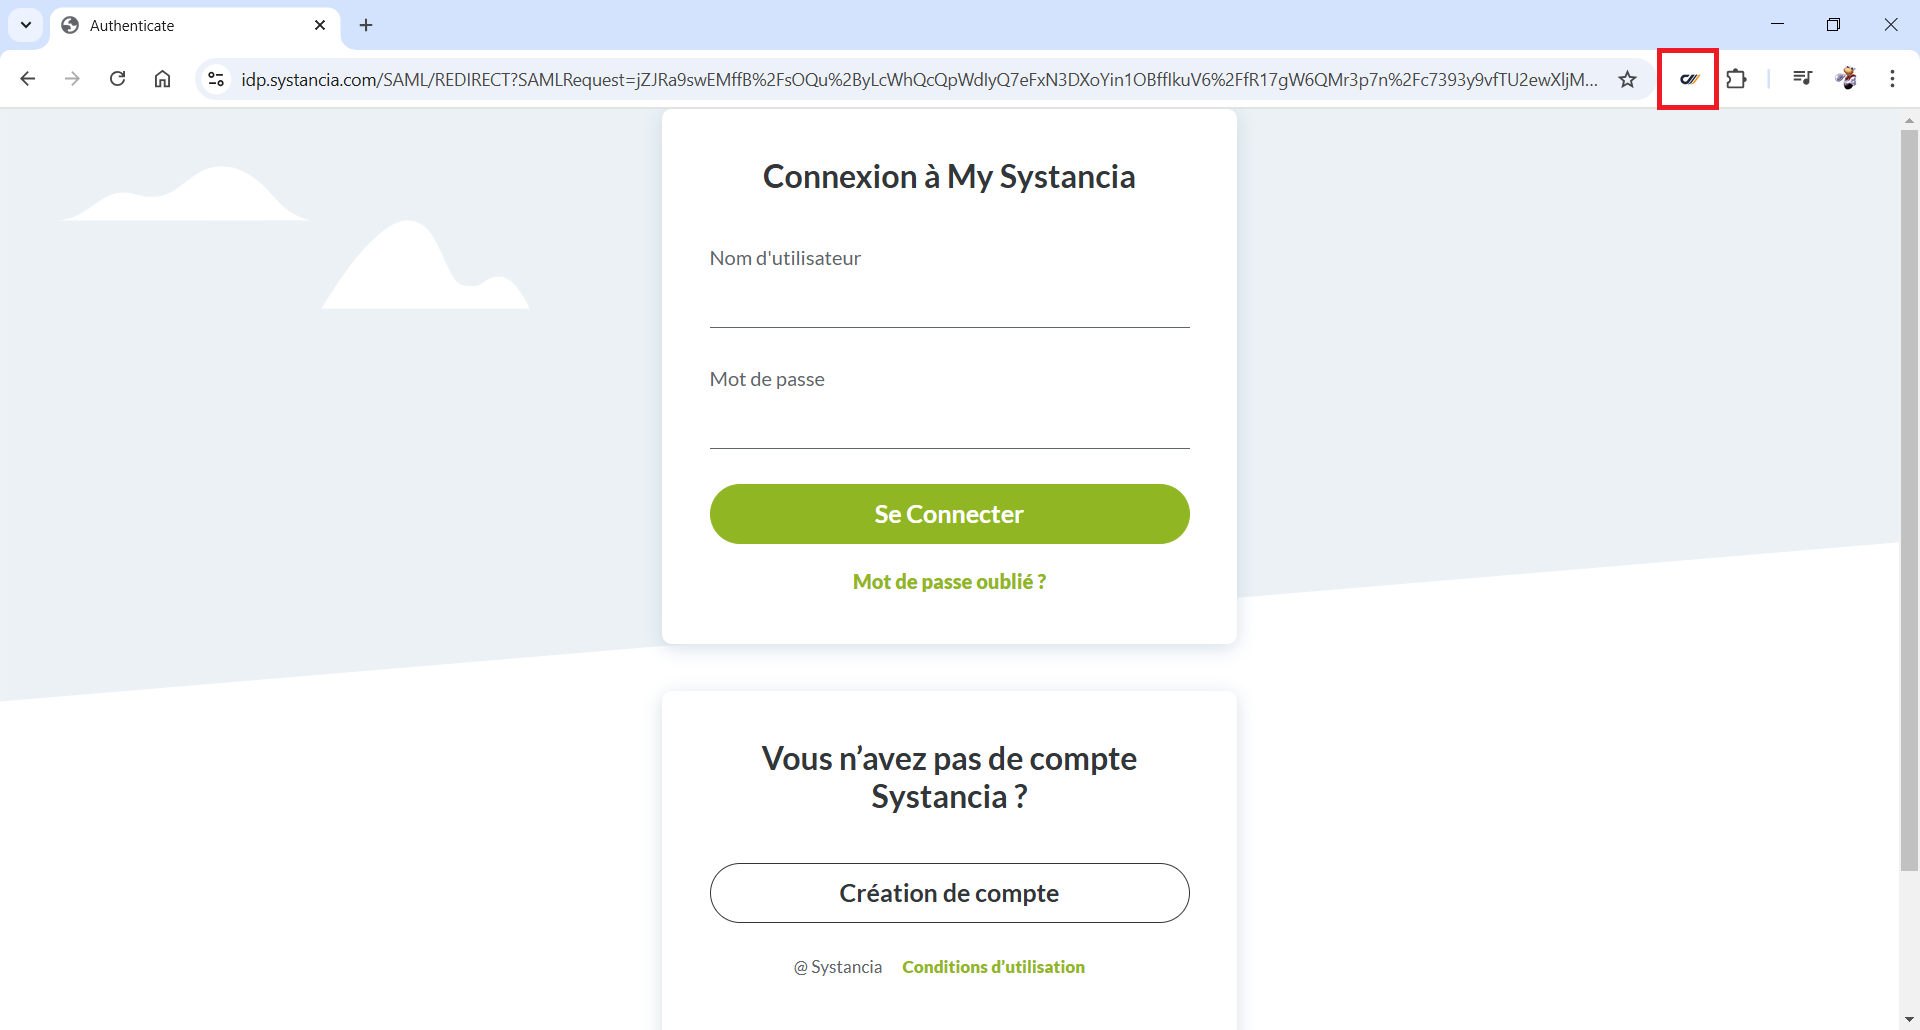
The extension launches in a banner on the left side of your browser.
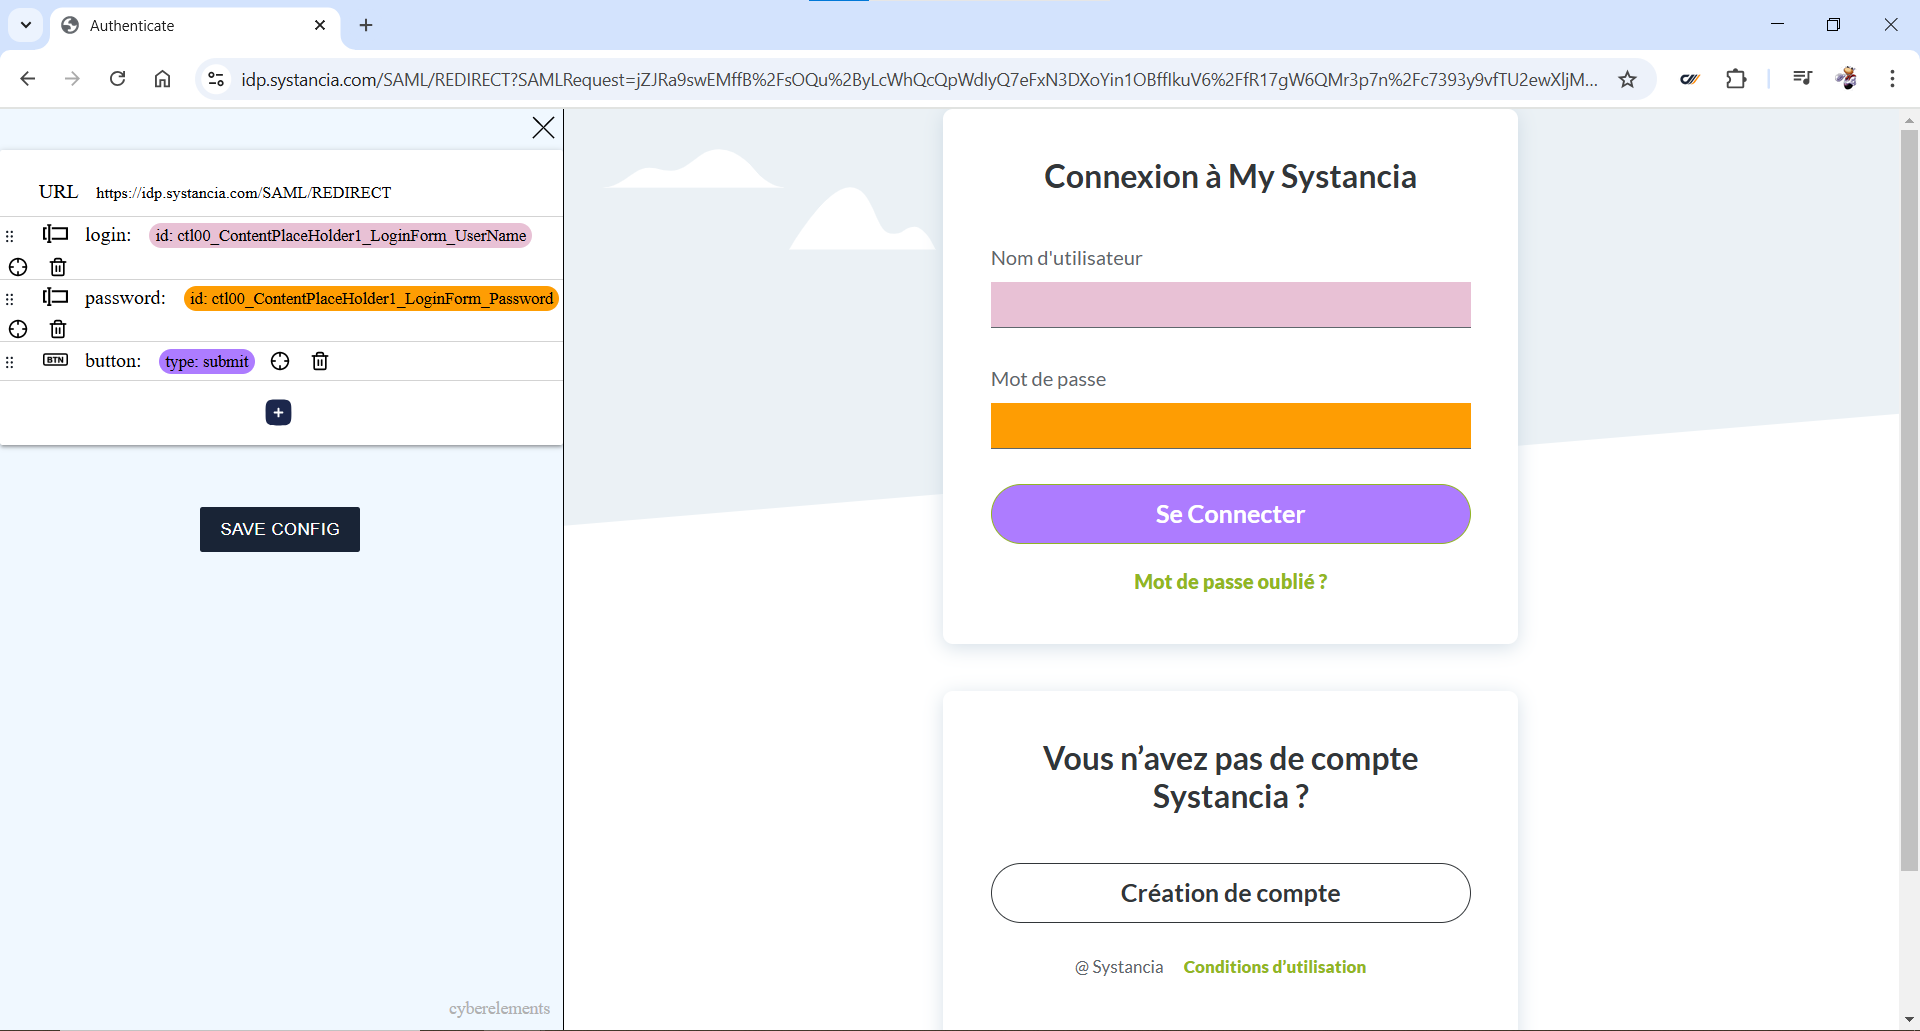
The extension automatically identifies the fields corresponding to the username, password, and “Log in” button and highlights the corresponding fields.
Check that the detected fields are correct and click the  button to save the configuration to the clipboard.
Multi-page login form
Information
In this section, we will use the example of an SSO configuration for the Microsoft Outlook application.
The login forms for Microsoft web applications are more complex and are spread over several pages. We will therefore need to adapt the configuration detected by the Cyberelements SSO Configurator extension.
Start by going to the login form for your web application.
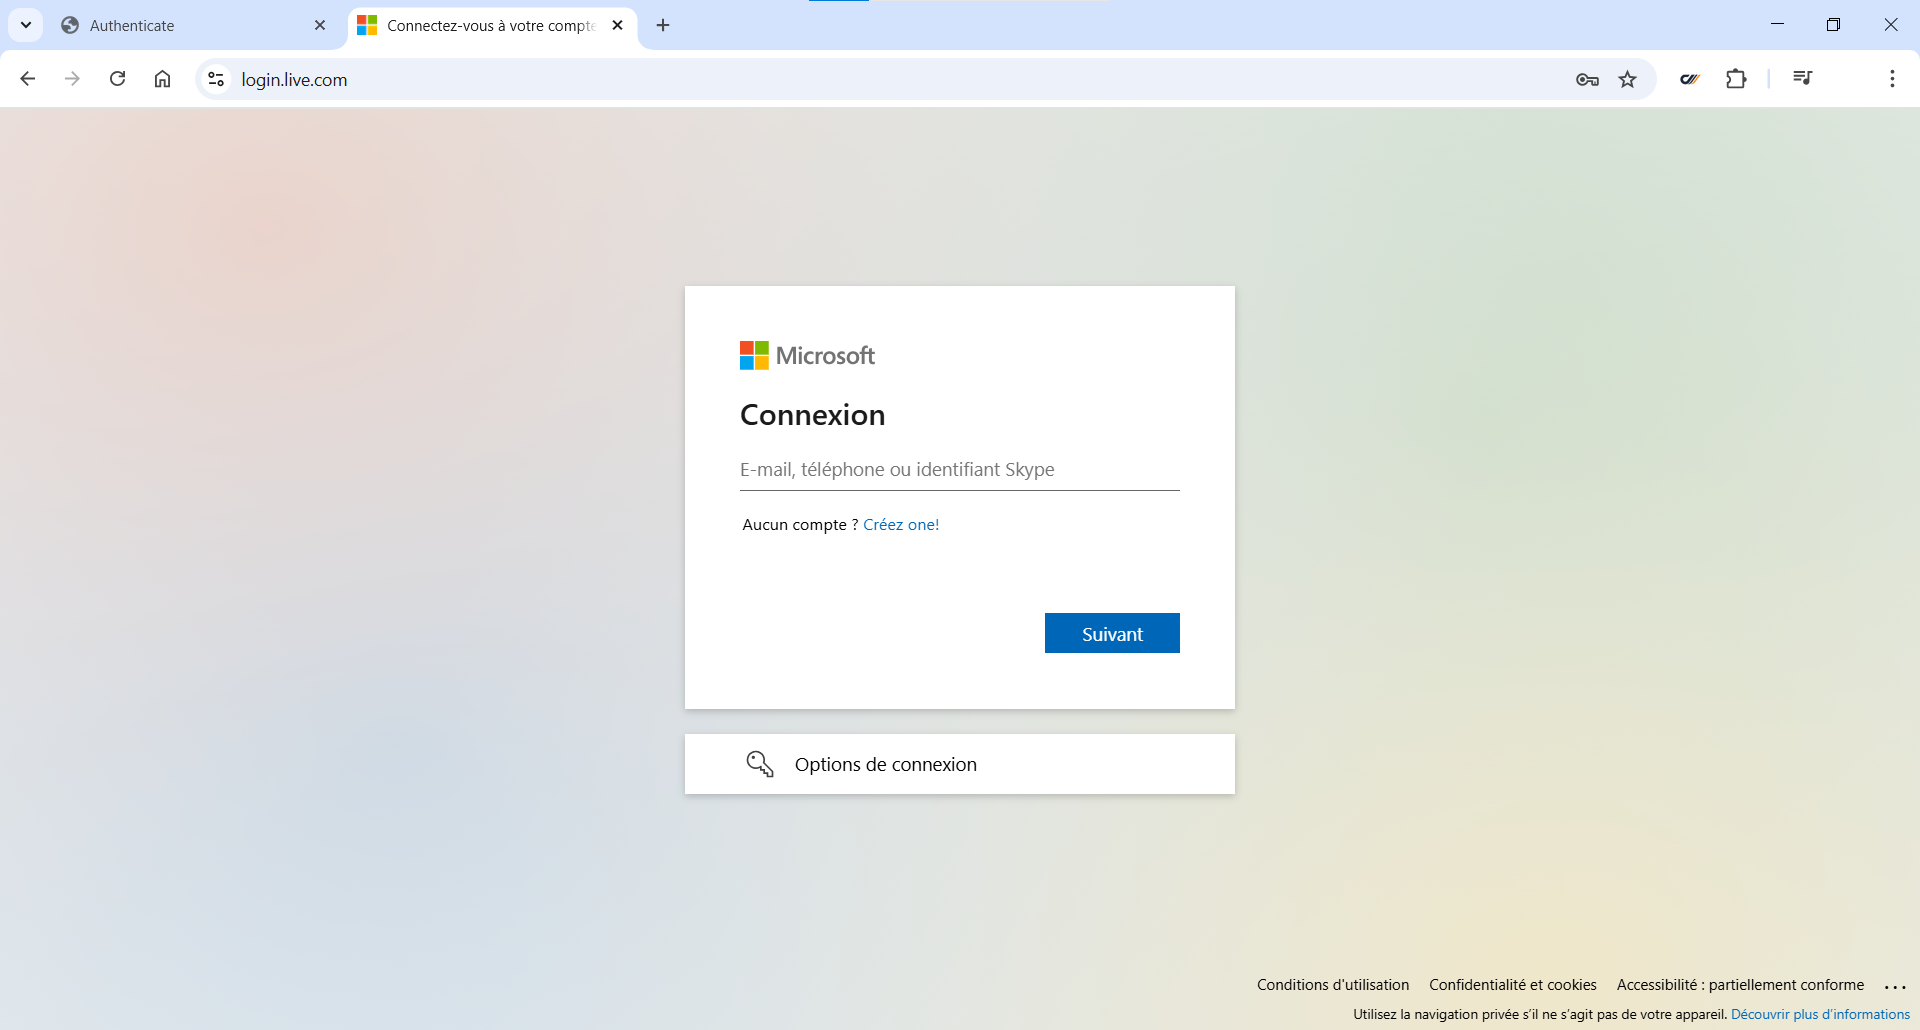
Then launch the extension by clicking on the button.
The extension launches in a banner on the left side of your browser.
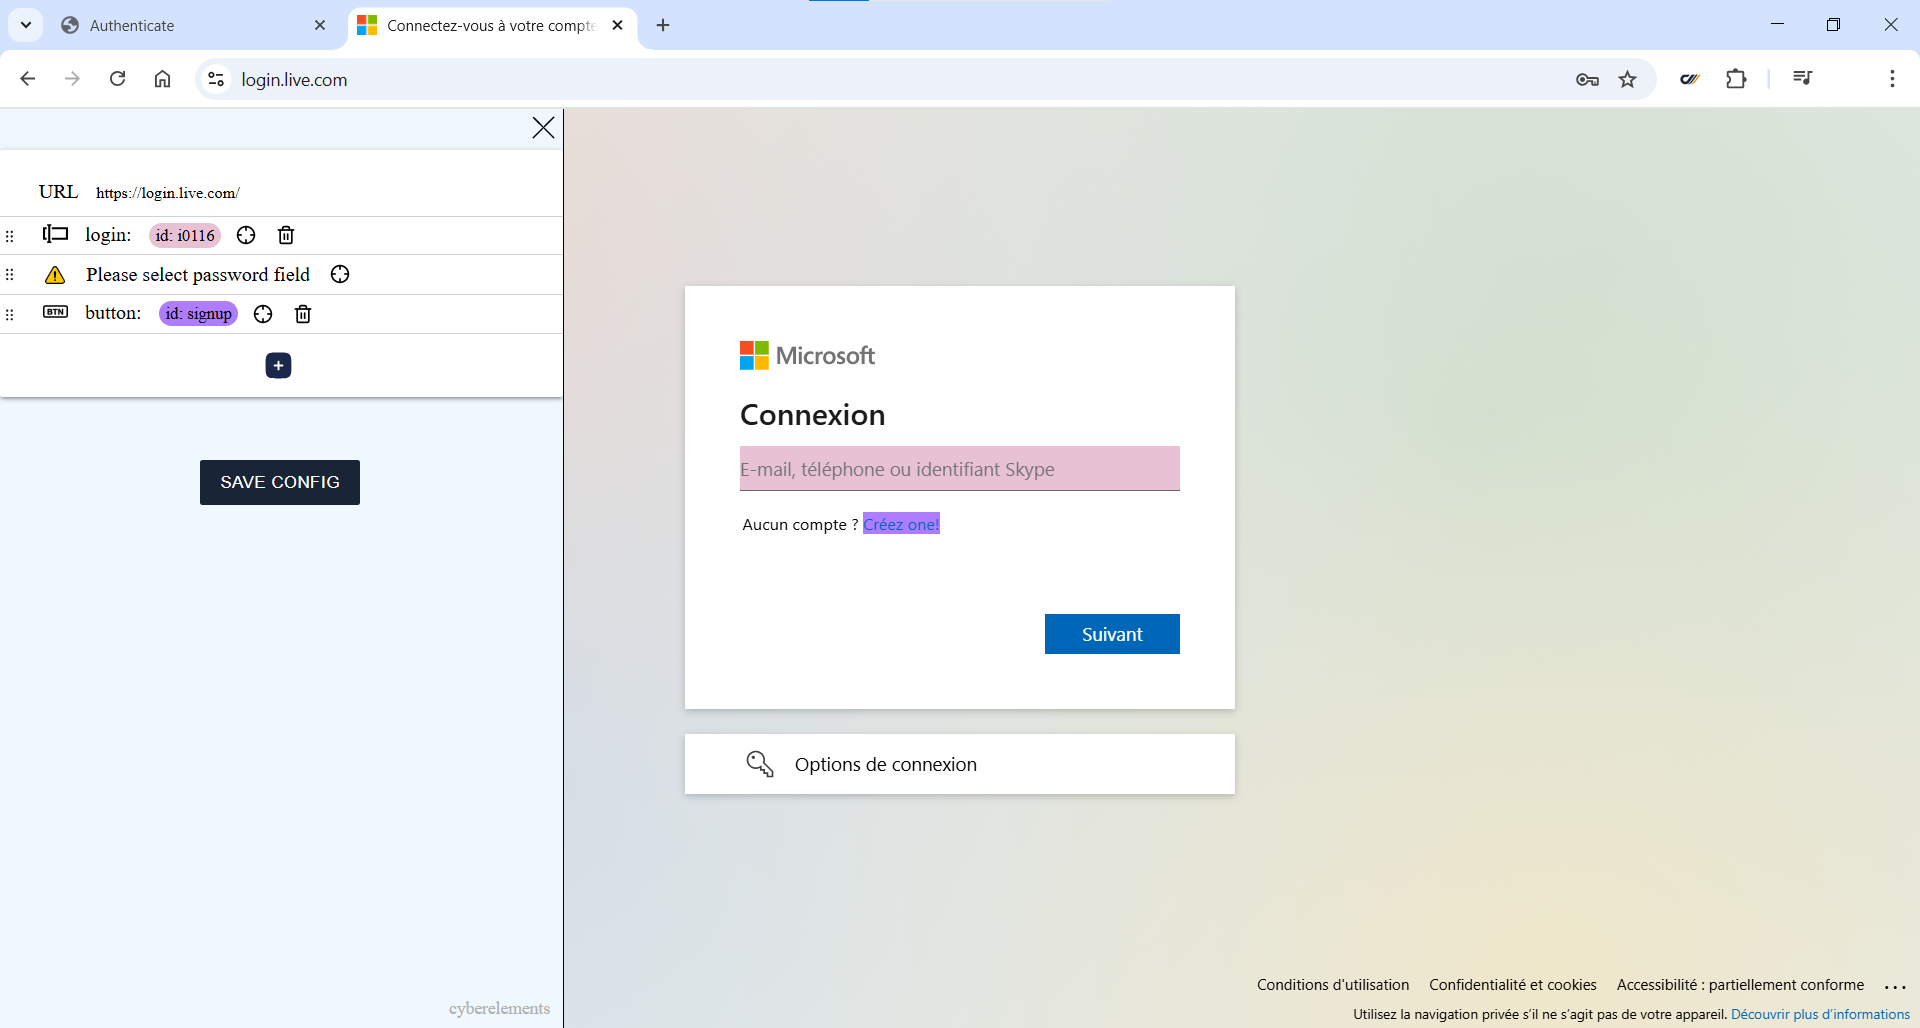
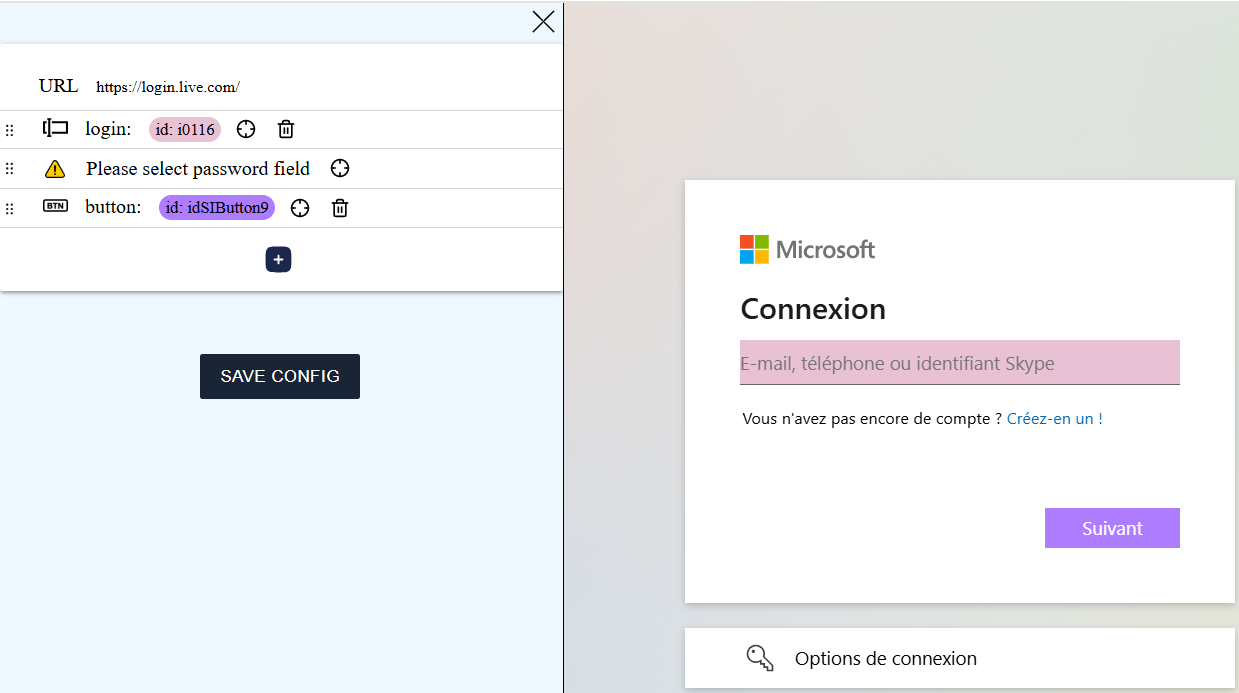
The extension automatically identifies the fields corresponding to the username, password, and “Log in” button and highlights the corresponding fields.
In our example, only the ID field is present on the first page.
Note that the “Log in” button has not been detected correctly and points to the account creation link. Click on the  icon of the
 button action and select the “Next” button.
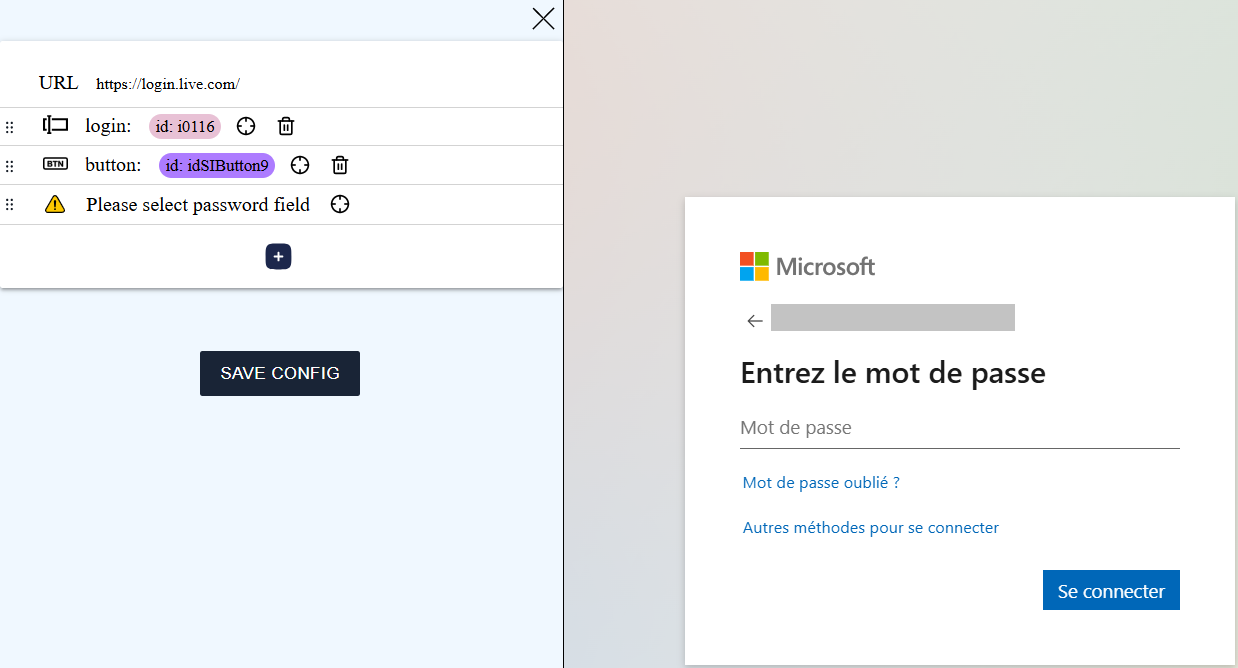
Since the configuration works on the same principle as a script, we then need to move the action created before the password field. Drag and drop and position the added field in second place.

Then enter an email address and click on the “Next” button to move to the next page and access the password field.
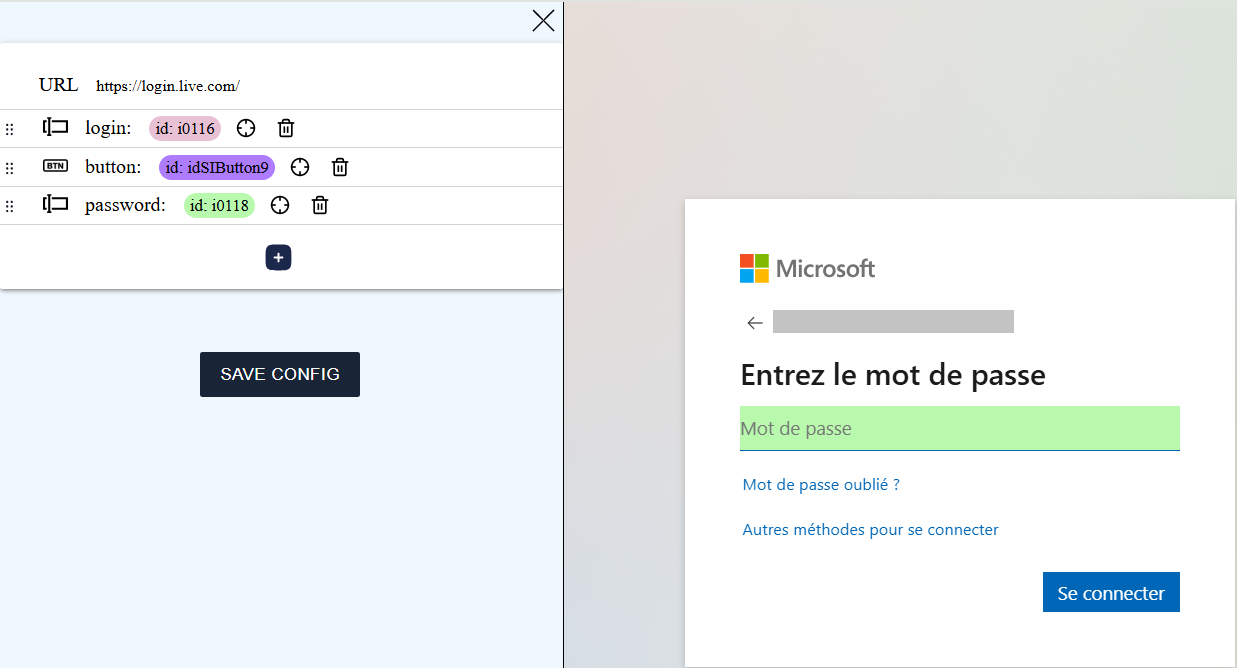
Click on the button of the password action and select the password field.
Then add an action using the  button, click on the button for the added action, and select the “Connect” button.
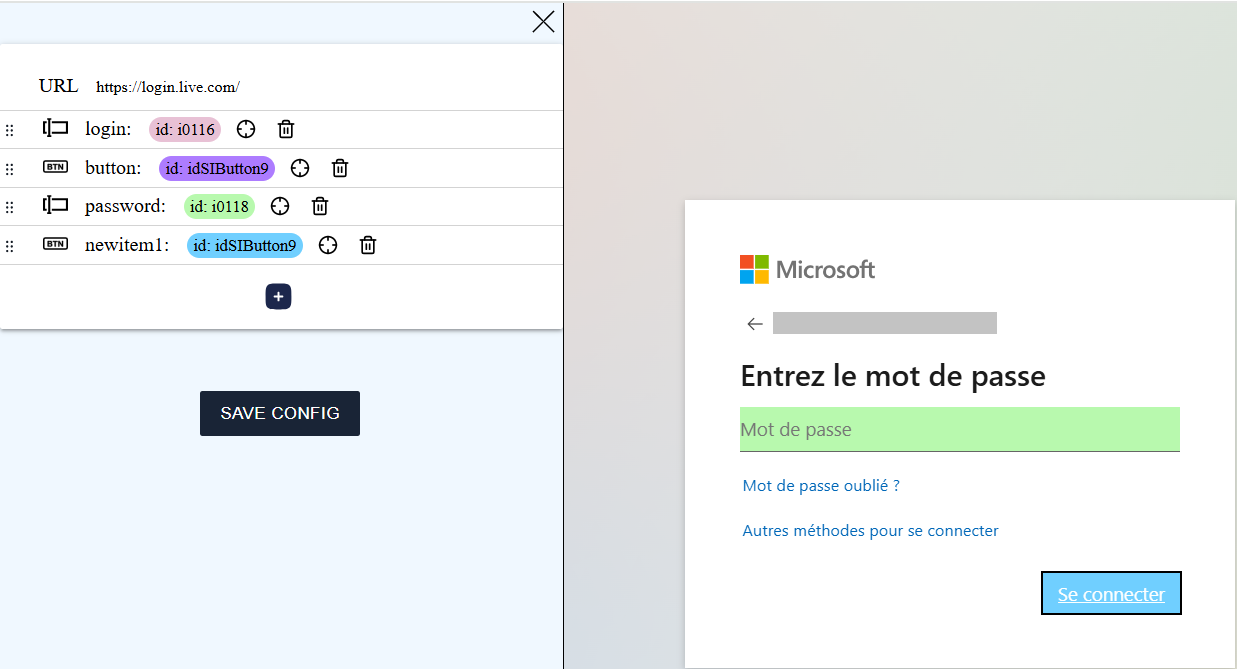
Click the button to save the configuration to the clipboard.
Login form with random fields
Information
In this section, we will use the example of an SSO configuration for an application based on GLPI.
Depending on the web application, it is possible that the credentials for the login form fields are generated randomly and will therefore no longer match when you log in again.
To find out if your application randomly generates the credentials for certain fields, retrieve the login form configuration once and paste it into a text file.
Then, reload the login page and retrieve the login form configuration again. Paste it into another text file.
Then compare the two configurations:
| Configuration 1 | Configuration 2 | ||||
|---|---|---|---|---|---|
|
|
Note that the login and password elements have different names, meaning they are randomly generated fields.
For the configuration to work, edit it manually and delete the label from the random fields:
1 2 3 4 5 6 7 8 9 10 11 12 13 14 15 16 17 18 19 20 21 22 23 24 25 26 27 28 29 30 31 | |
Creating the application in cyberelements
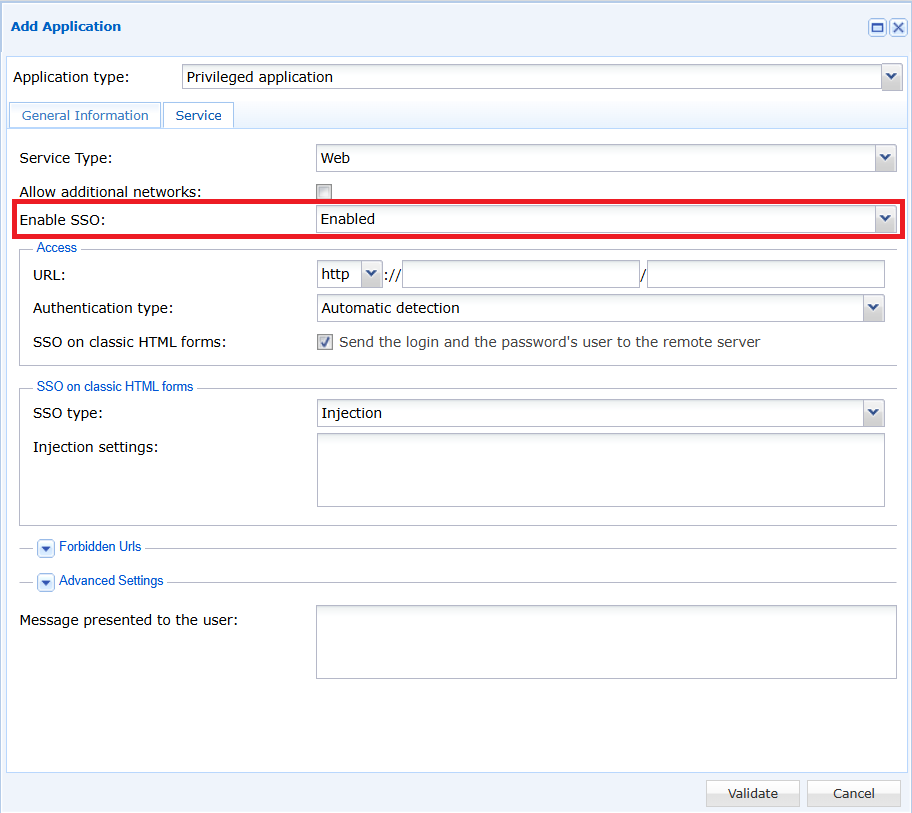
When creating the web application in the cyberelements console, enable SSO on the application by selecting the “Enabled”, “Request” or “Fixed” option from the drop-down menu.
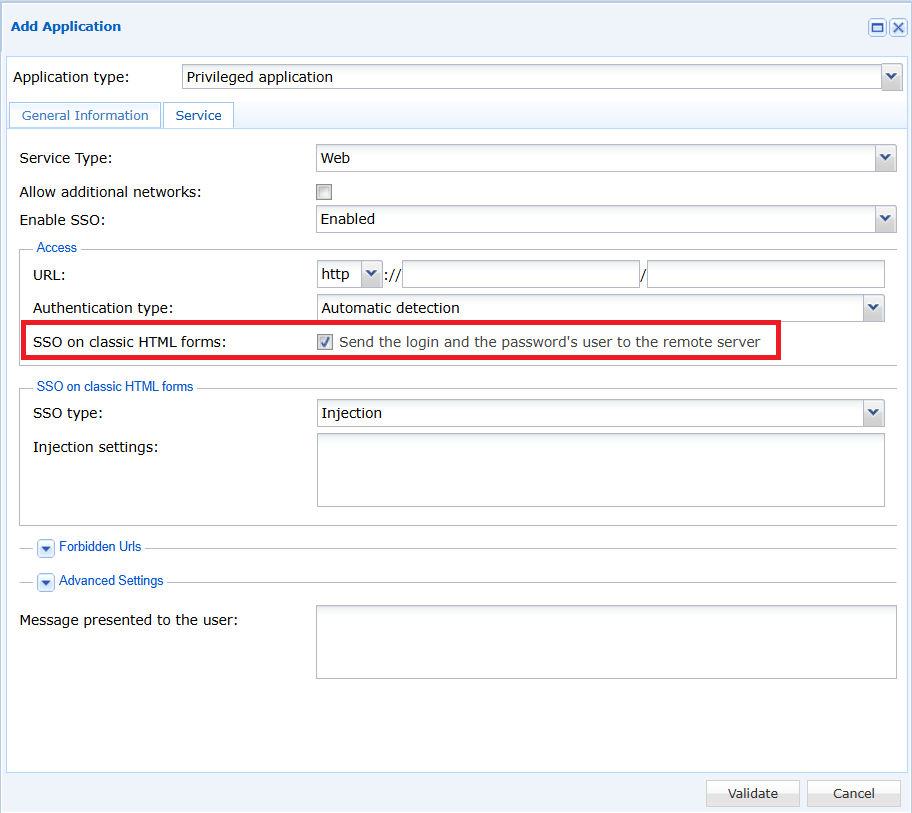
Then, check the “SSO on classic HTML forms” box.
Finally, select the ‘Injection’ SSO type and paste the configuration retrieved in the previous section into the “Injection settings” field.
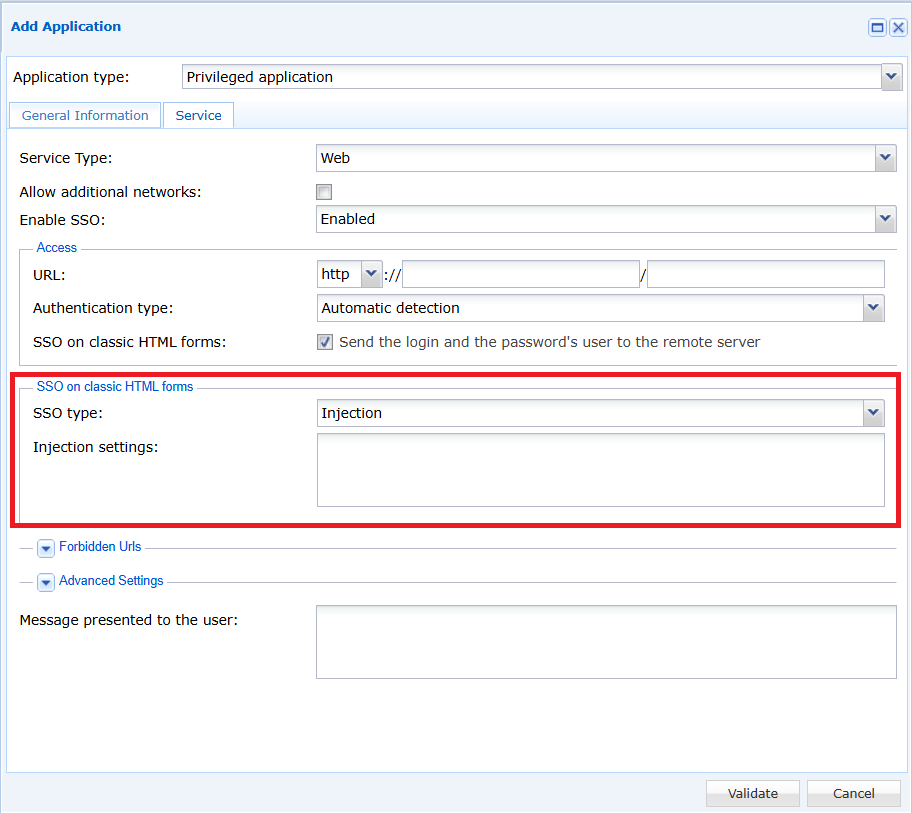
SSO is now configured on your application.