Technical configuration of Systancia Identity audits
Launch "SSOXSrvConf" from the SSOX Administration directory in the installation directory of the solution.
Open the "SSOX Audit Server" tab.
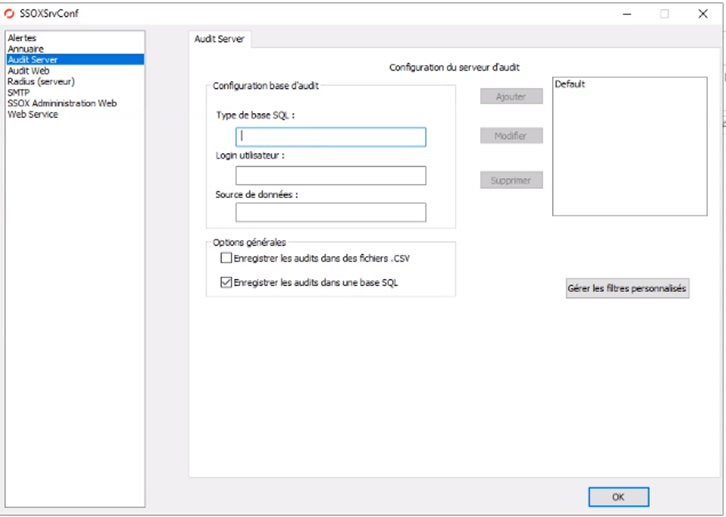
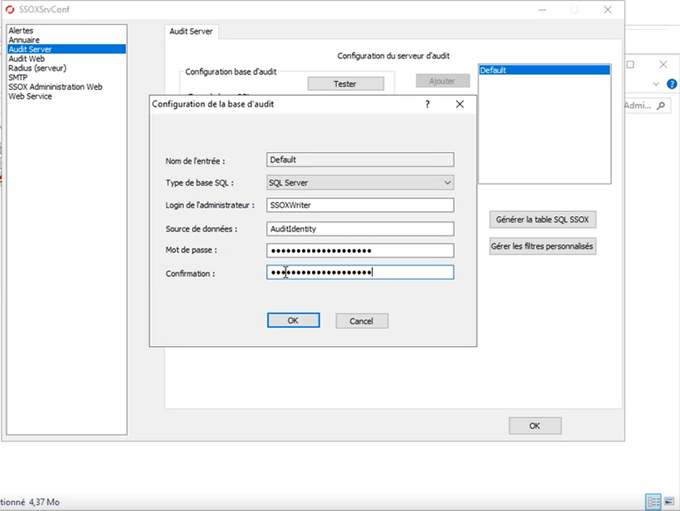
Click on "Default" to display the configuration settings, then click on "Modify".
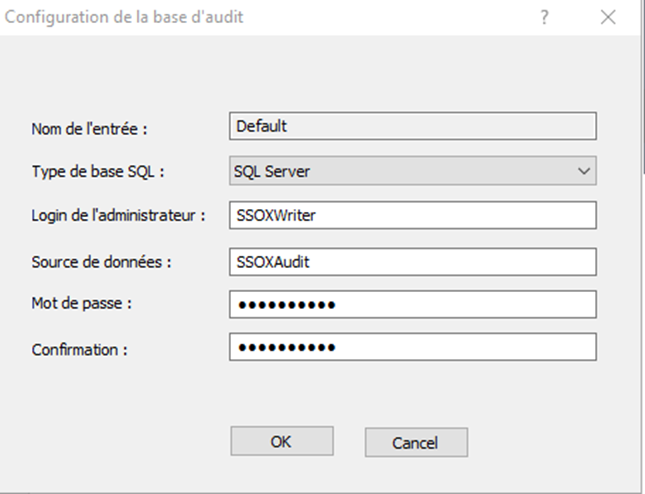
In "Data Source", enter the name of the ODBC connector data source (in our example: AuditIndentity).
Then you need to fill in the password of the administration login, but before that you need to change the password of the SSOXWriter user in the database.
In Microsoft SQL Server Management Studio, explore the database. In the Security/login directory, click on the SSOXWriter user.
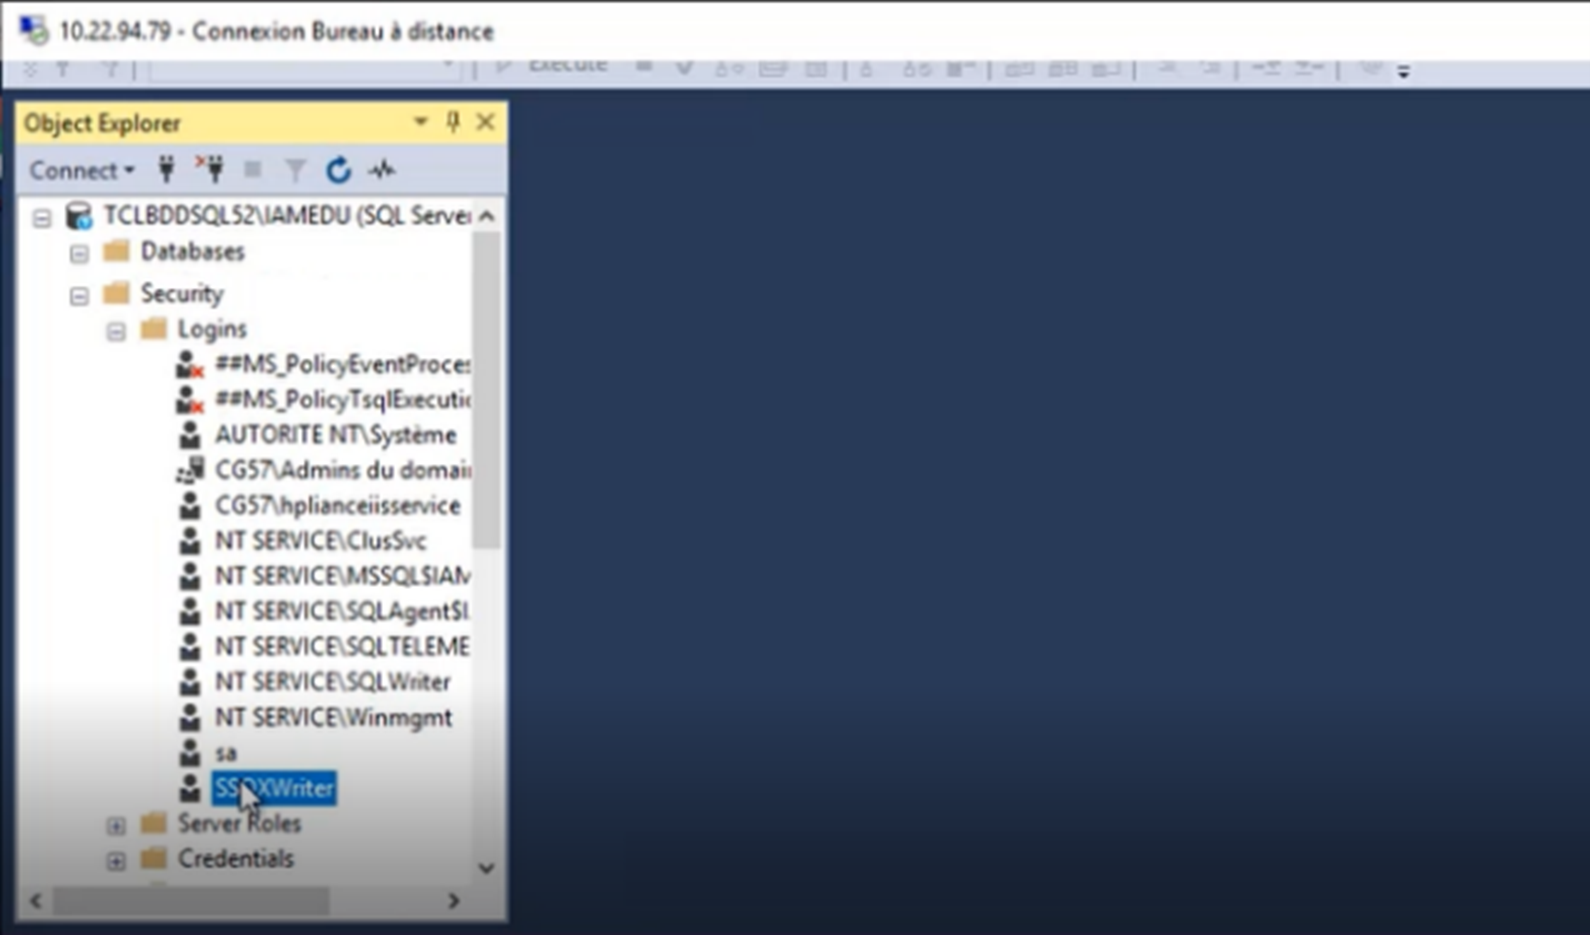
Change the user's password with the desired value.
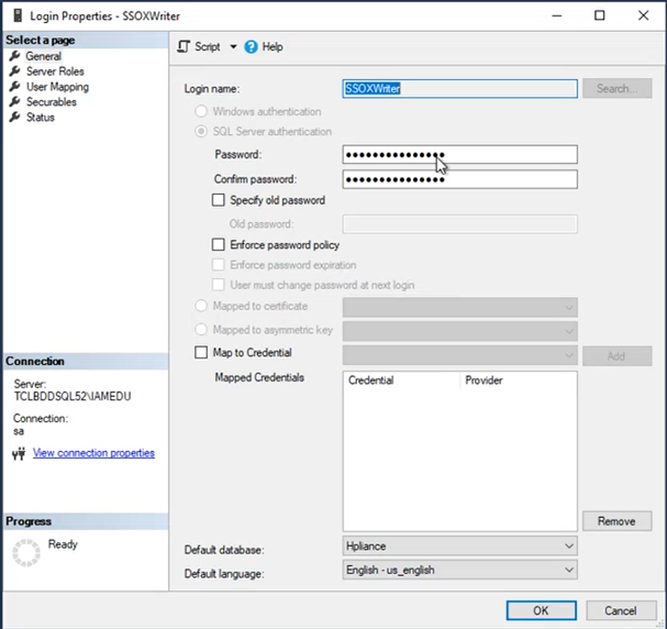
In the SSOXWriter tool, enter the same password and click on OK.
Click on "Test".
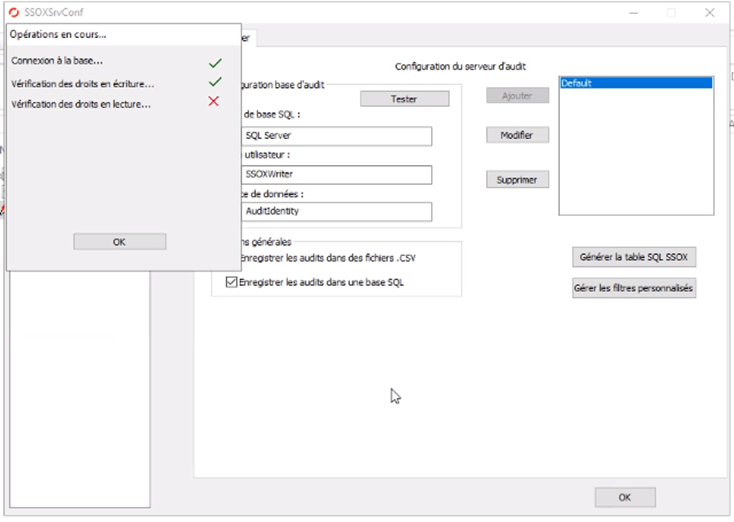
When upgrading, the link between the SSOXWriter user and the database instance may no longer be present.
It is therefore recommended to run the following command:
1 | |
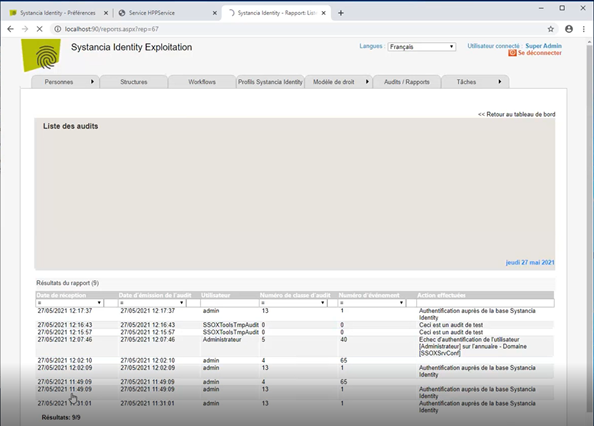
Test the presence of audits in the operating console
Go to the operating interface in the "Audits/Reports" tab, then click on the "Audit List" report.
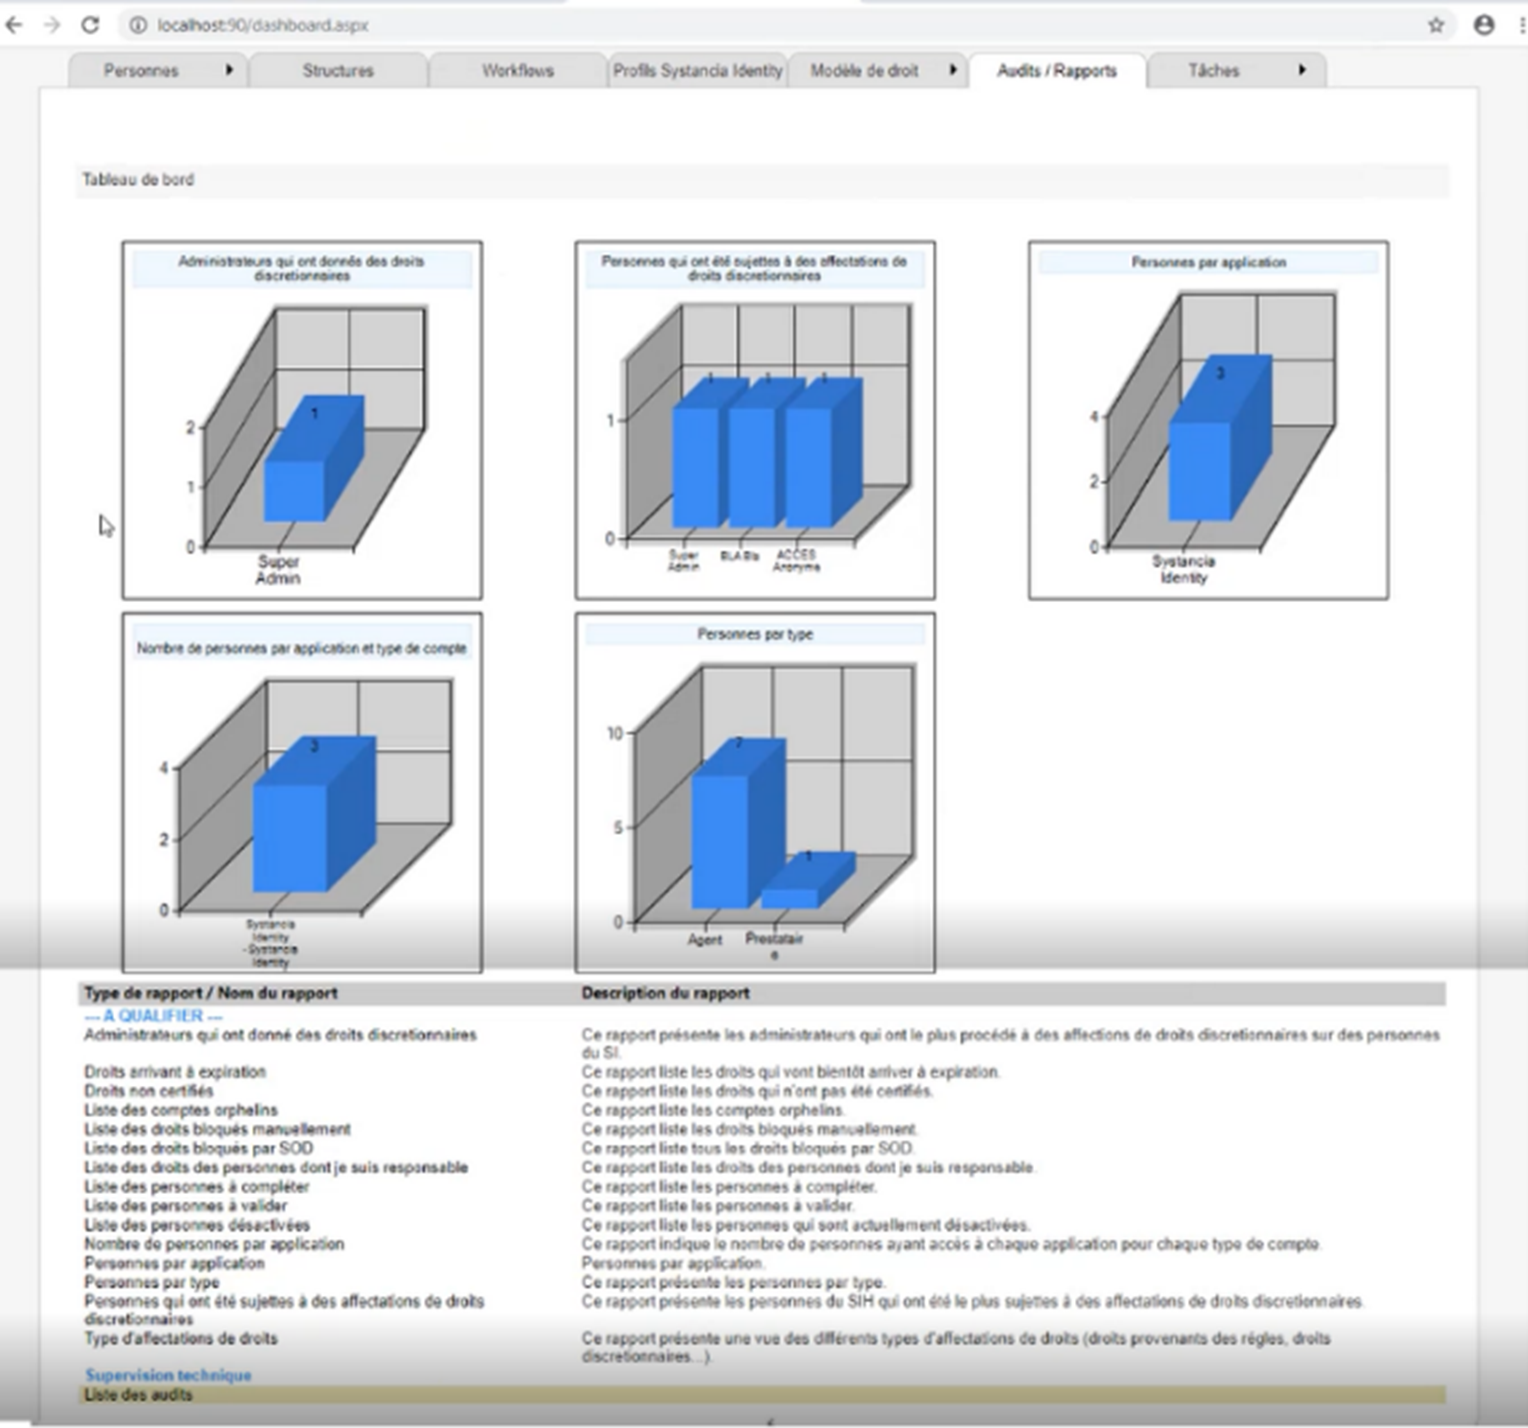
Click on the “Audit List” report to verify that the audits are correctly registered.